
Step Vault Basics
Intro
This is called the Step Vault or also known as the Safety Vault
The step vault's primary purpose is to allow maximum confidence overcoming an obstacle,
Moving both safely and securely.
The TL;DR
It is usually the vault that is taught first to beginners because of it's simplicity.
However this vault is hugely versatile and can have a huge range of variations.
The goal
The key is control and security, so the more confidence you feel with this vault, the better because it will always be your fall-back vault.
Advanced practitioners will also use this vault, especially when they're feeling uncomfortable or want maximum reliability. So nailing this down to perfection is in your best interest.
Prerequisites
You do not need any previous experience and very little movement ability to complete this vault at its basic level.
However, having the mobility to be able to get a foot and hand on the obstacle will be nessesary.
Getting started
- General Joint Mobility should be encouraged. It'll loosen up the joints and help with being able to reach better ranges of motion under control
- Thorough warmups should always be done. Unless you are a top-level athlete who monitors their performance, you should start slow but gradually move into going hard on the warmups.
- Shoulders and arms with QM / Diving Monkeys / Pushups
- Hip mobility with squats / lunges / burpees / jumps.
Basics
The setup
You need to find a wall roughly thigh to hip height. This is the general height for starting vaults.
We are going to do everything with as much control as possible, which means nice and slow.
Both Hands & Foot
Start with both hands and a single foot to create space under you.
You want them a good distance apart to create a large space.
Hand position
Start with placing both hands on the wall first. Hands facing forward, have a good grip, flat, with the whole palm on the wall.
The pressure should be in the middle of the hand to ball of thumb.
Foot
Place one of your feet onto the wall, with the ball of the foot. Facing forwards.
Foot trajectory
Try to place the foot up and over the wall, not straight at it. This is to prevent clipping the foot on the corner. As your accuracy improves, this can be refined, but for the beginning, over exaggerate the movement.
Hips
Push your hips up high behind you.
Again, you are trying to create space, so less mobility means higher hips.
Inside leg
This is the Tricky part - Remove the inside arm and push the back leg through the gap between the stabilising hand and foot.
Landing
Place the ball of that foot down on the ground, controlled and slow.
Direction
Move forward in a straight line, removing the hand/foot on the wall behind you.
Cue 1 - straight
Straight line - For now, remember that you are travelling in a straight line, so pick a point in front of you and head towards it.
Cue 2 - space
The amount of space under you is key. Either you have good mobility, or you create more space to get the trailing leg through.
Cue 3 - weight distribution
At the beginning, try to move your weight so that it's more towards your arms.
Videos Listing
Explore other series
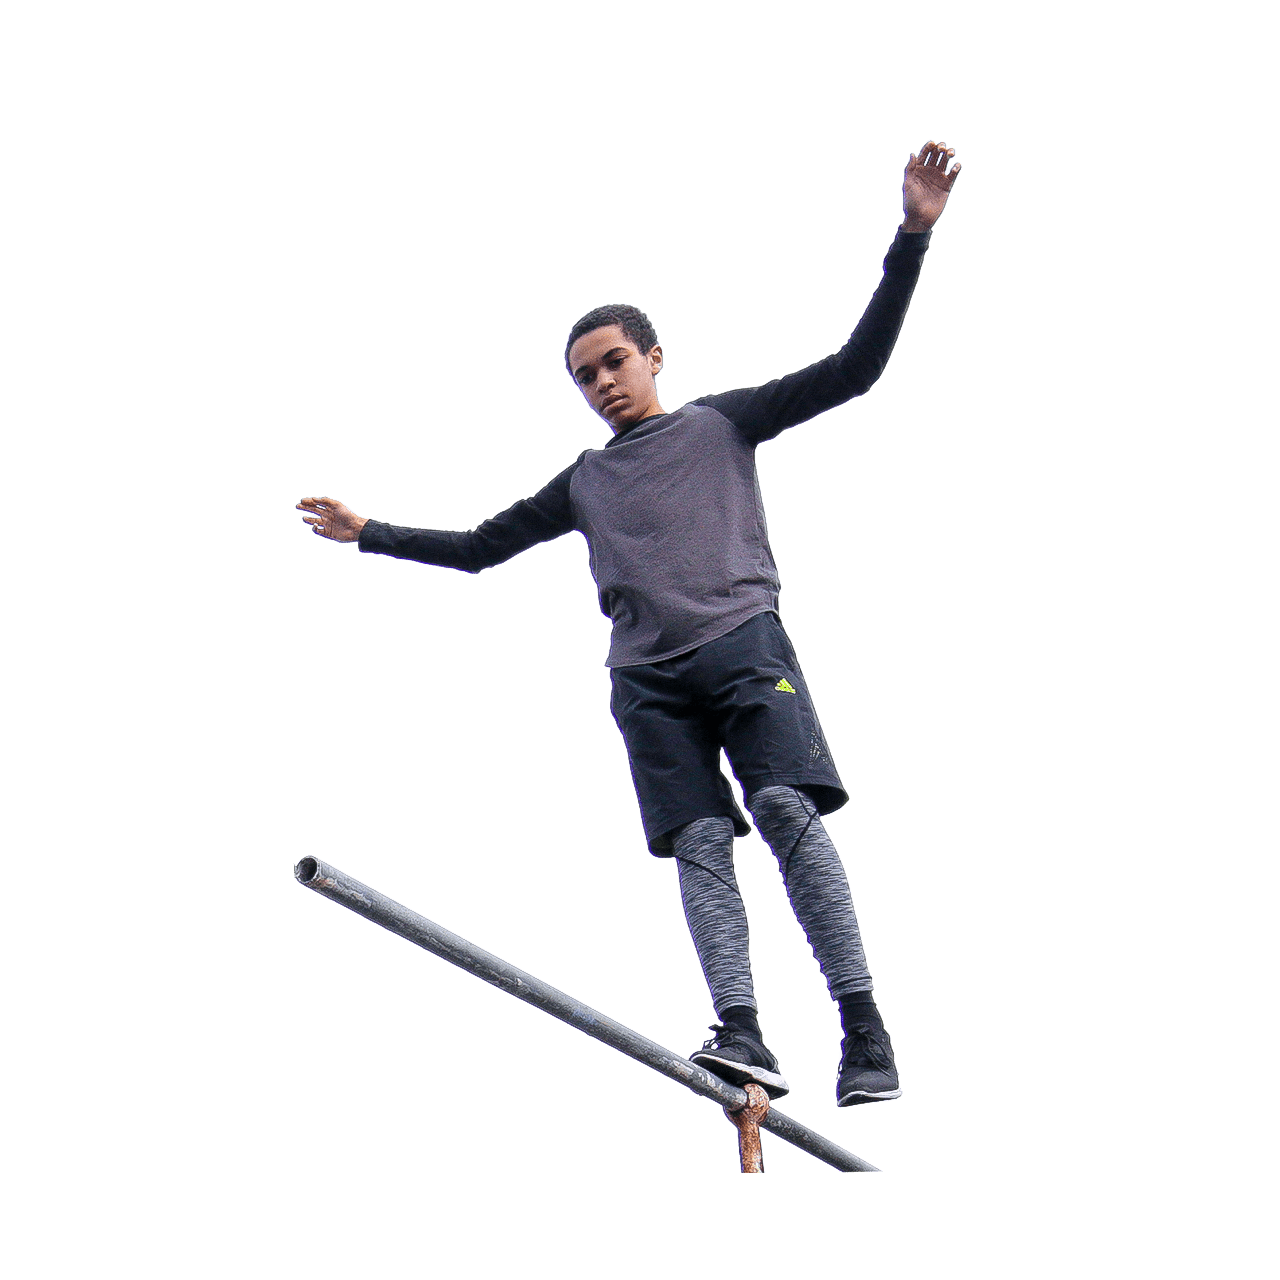
Rail Balancing Tips
Control on a metal bar, fence or thin rail will rapidly improve foot and body positioning as well as confidence.
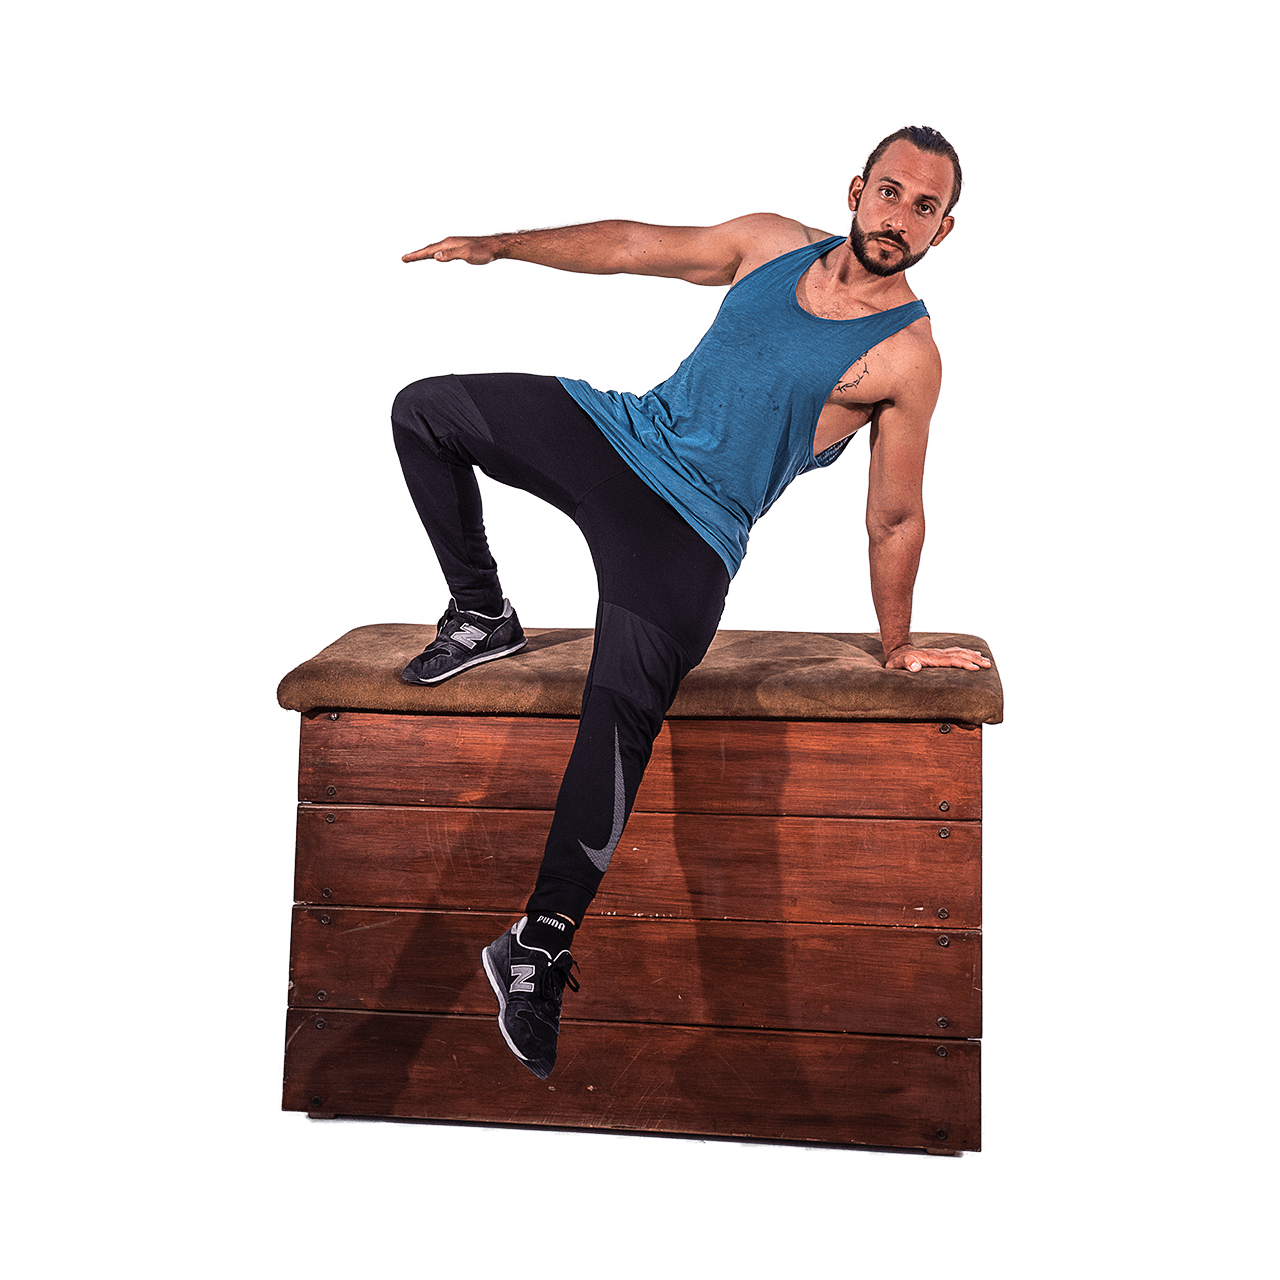
Step Vault Tips
The Step vault, (aka "Safety Vault") is one of the fundamental vaulting techniques within parkour. Due to its ease of use, this movement is often utilised by all levels of ability.
Tutorials
In-depth series on specific movement topics.

Demonstrations
In-depth series on specific movement topics.
Blog
Deep-dives into Parkour Topics.